While working on a forensic investigation once, I’d asked a colleague for a USB flash drive to transfer some artifacts from a target device to my investigation workstation. I emphasized that it was very important that the USB flash drive not be used for anything critical, that it was not a personal drive or used for anything personal in the past, and that it should be treated as a disposable, burner media.
My coworker reassured me that the flash drive, though used in the past, had been securely wiped, and that I could use it for my investigation with confidence. Well, you could imagine my groan when the flash drive entered my casefile, and I found dog pictures on it that I’d been told were “securely wiped.” I’m lucky it was just dog pictures, because it could have been so much worse; I’m not ready to know some people like that – ha.
Unfortunately, I’m inclined to opine that my coworker should have known better; we were both information security professionals, and this is a Computer Science 101 topic. This funny work story from my last life is what inspired me to write this blog post with a guiding question: what happens to a file when it’s deleted, and can it be recovered even after we’ve emptied the trash bin?
Scope
This post will cover what happens when a file is deleted on a typical Linux system, since it’s easier for readers to set up learning labs in Linux and learn the fundamentals by following along. However, I’ll also be sharing my methodology for manually recovering specific files on any diskdump, which goes beyond just Linux.
In the future, I may write a post on how files work on Windows systems specifically, since that’s usually much more applicable to “in-the-wild” forensic investigations.
Contents
tl;dr
“Deleting” a file is usually just moving it to a trash bin, which can just be thought of as a special directory where all data are still intact and recovery is trivial.
Even when you “empty” the trash bin or delete a file with a CLI utility such as rm, data are usually still recoverable. The act of “really deleting” a file is – in actuality – just the act of deleting a reference to regions on a device and marking such regions as unused such that they can be overwritten by the operating system for newer data.
“Deleting” a File to the Trash Bin
This is the trivial case. On my Parrot VM, which runs on KDE and uses Dolphin, deleting a file via the file manager is actually just moving it to either:
~/.local/share/Trash/ in the case of a file on my local system, or${mountpoint}/.Trash-${uid}/ in the case of a file on mounted media, such as a USB flash drive.
In Dolphin, you can navigate to trash: to list the sum contents of all trash directories. Below, we “delete” 3 files using the file manager:
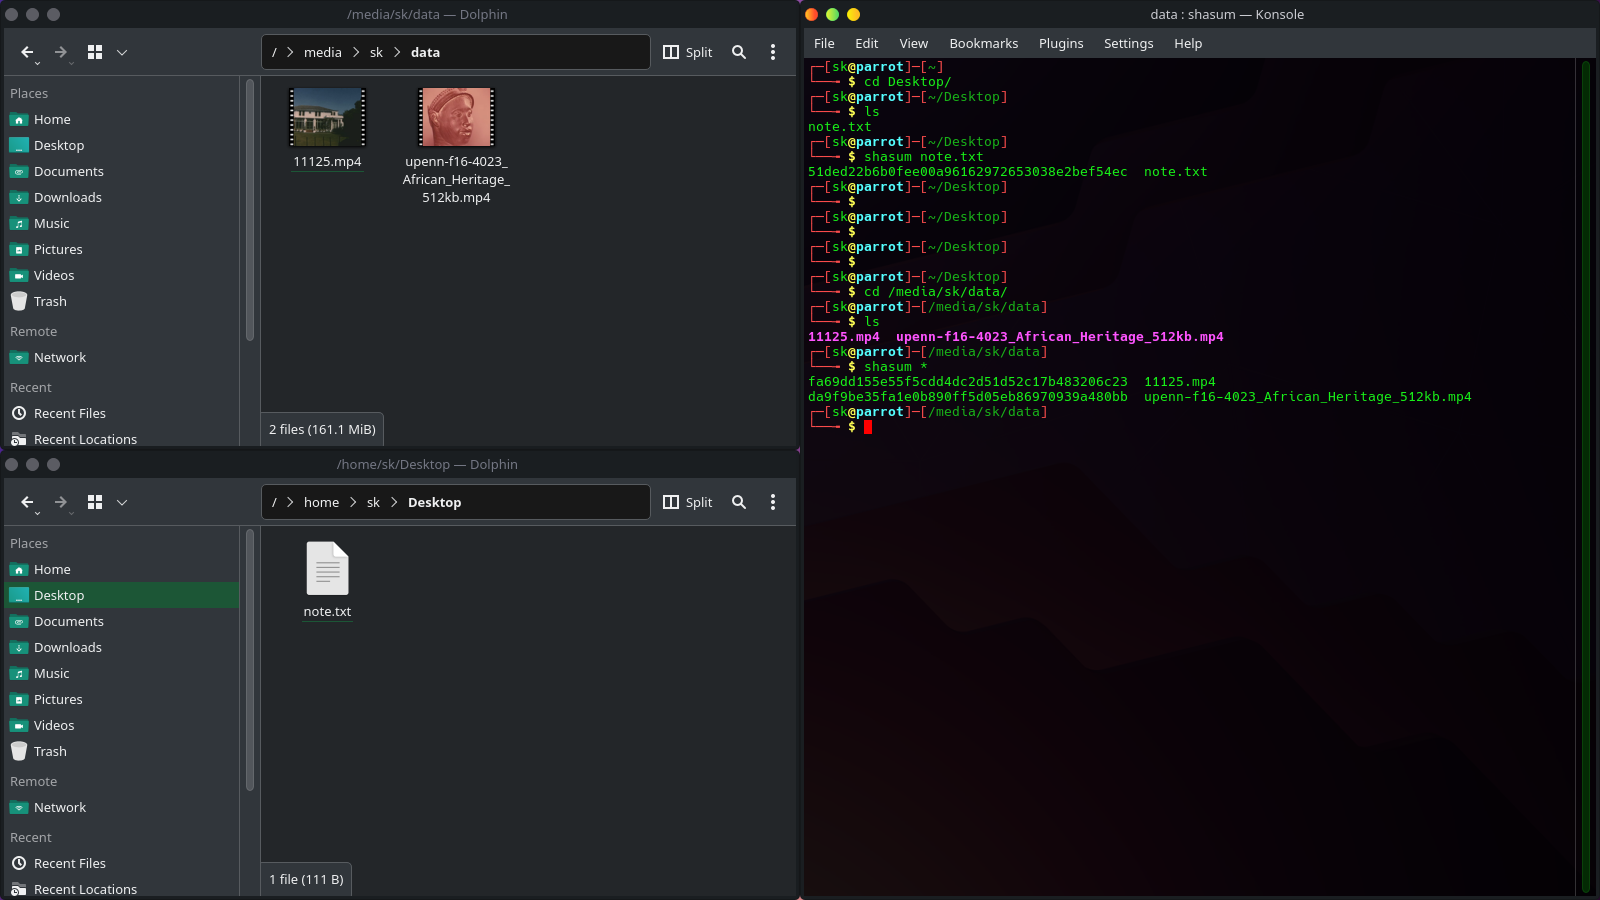
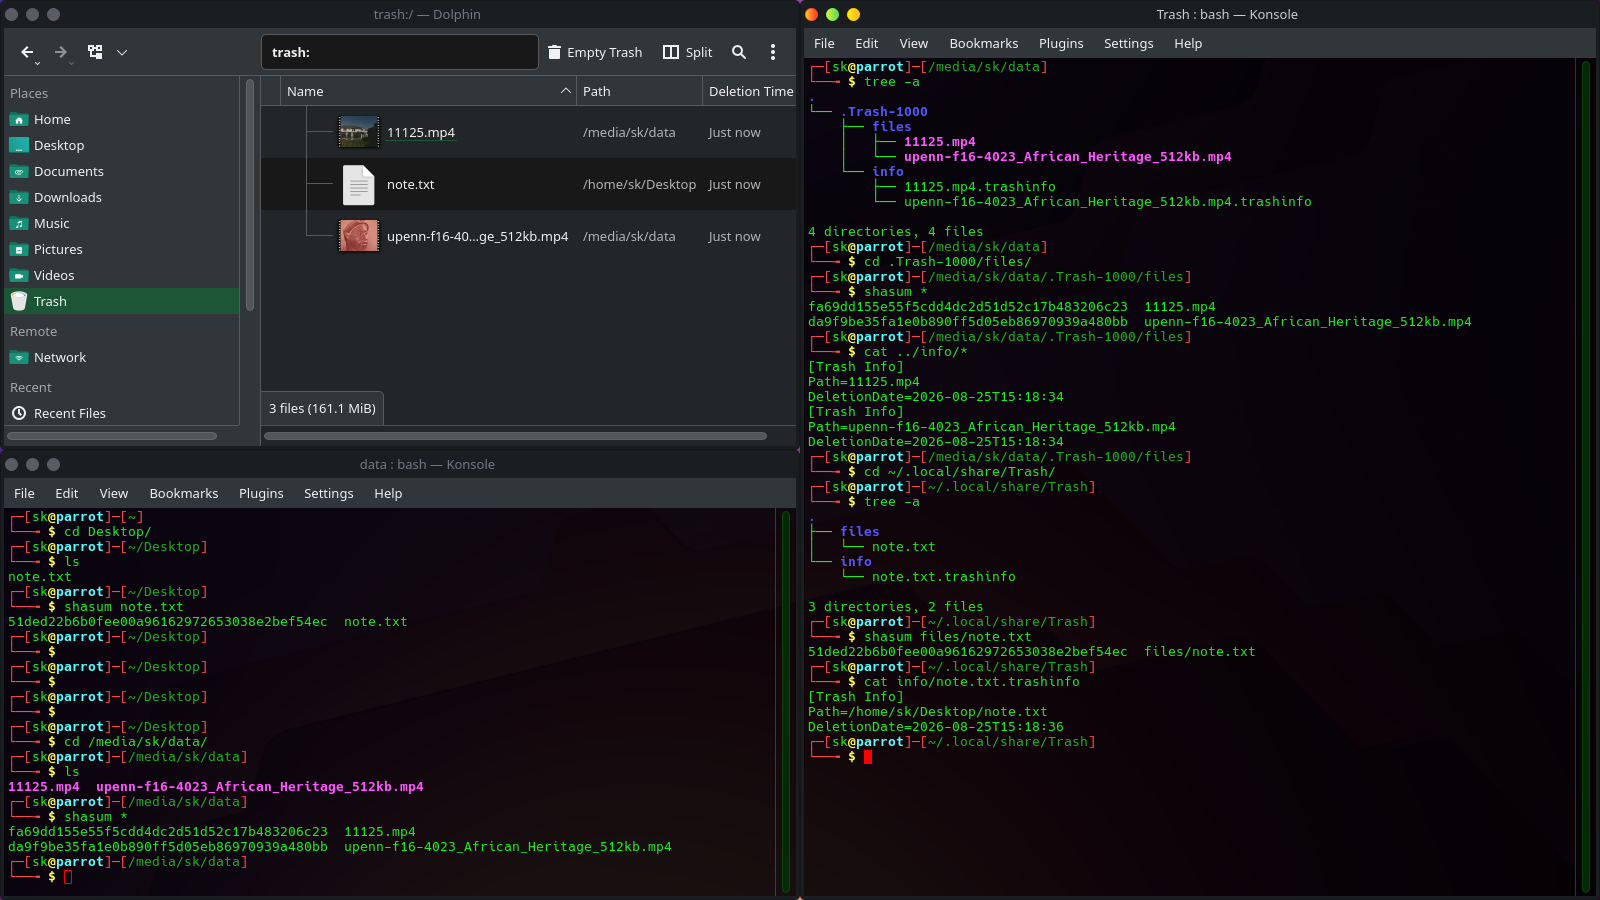
Notice that there’s additionally some metadata about the files in the trash directories, containing information such as the original paths (for restoration purposes) and deletion times.
These “deleted” files, as far as the operating system is concerned, are still active. As far as the user is concerned, they’re stowed out of sight and out of mind and are thus “deleted.” Because the files were never actually deleted, recovering them is as simple as restoring them from the trash bin, or navigating to the trash directories and moving them out.
Deleting Files by Releasing Their References
When we empty the trash, the files are actually released from the operating system as if we used rm on them; the underlying behavior is equivalent. The space their contents previously occupied are now free for the operating system to write over. Their contents disappear from these trash directories, and it no longer becomes trivial to recover them.
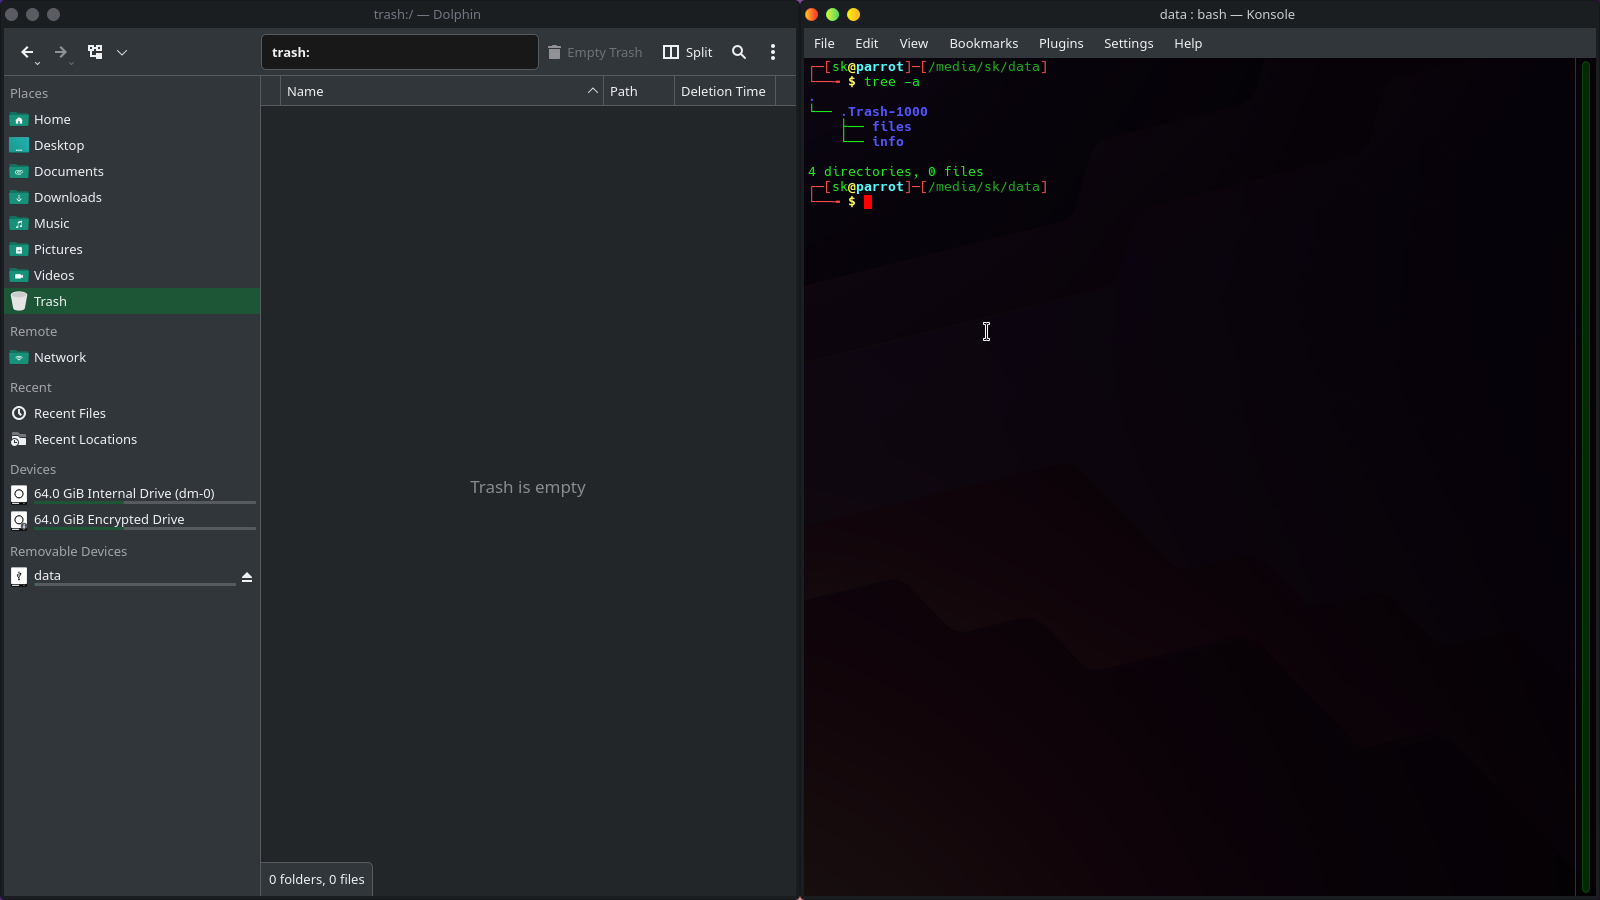
Where did the files go? What happened to the data?
To understand this, we need to learn a little bit about how a typical Linux filesystem works:
- The filesystem is really just a bunch of names mapped to index nodes, or inodes.
- inodes can be referenced by their numbers, and contain permissions and metadata about a file.
- inodes, most critically, contain pointers to data blocks, which hold the actual file data.
- inodes may indirectly reference data blocks, which happens for large files.
At its core, a Linux filesystem really is just that simple.
More precisely, this was developed for Unix, and the fundamental working principles were adopted into filesystems frequently used by Linux systems, such as ext3 and ext4.
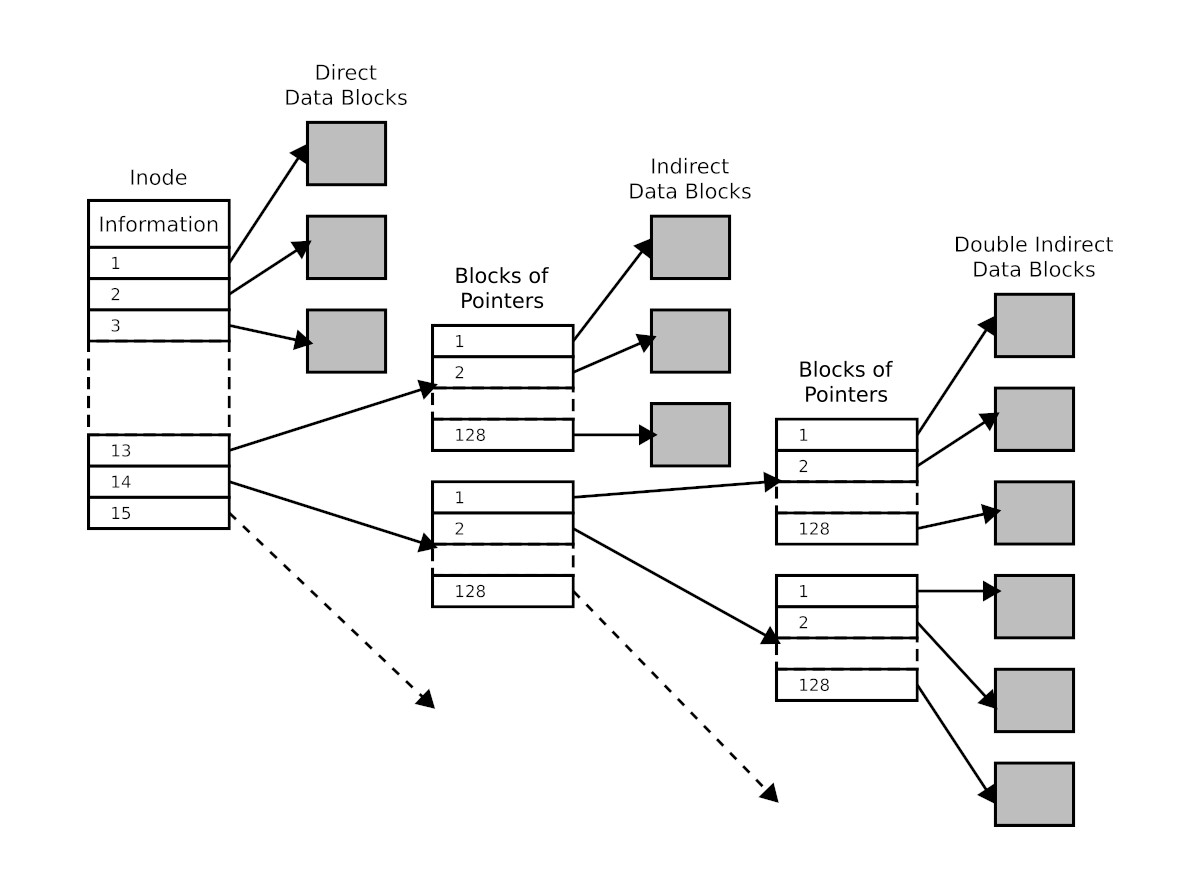 (By timtjtim - Own work, CC BY-SA 4.0, https://commons.wikimedia.org/w/index.php?curid=75836001)
A crucial implication is that there is no guarantee that data blocks are contiguous.
When a file is deleted by emptying the trash or using rm, the filesystem’s reference to an inode is severed. When an inode is not referenced anymore by anything, such as open processes, the inode becomes unlinked.
While the data blocks referenced by the inode are now able to be overwritten by new data, it is unlikely to happen immediately; the greater the number of write operations since an inode has been unlinked, the greater the probability that one or more of its data blocks will be overwritten.
Recovering Files, the Easy Way
When working on a forensic case, one of the first things you’ll want to do is preserve evidence: make an image of the media, and if it’s critical, 3-2-1 back it up.
Below, I made an image of the USB flash drive with dd:
$ sudo dd if=/dev/${device} of=${output} bs=4M status=progress

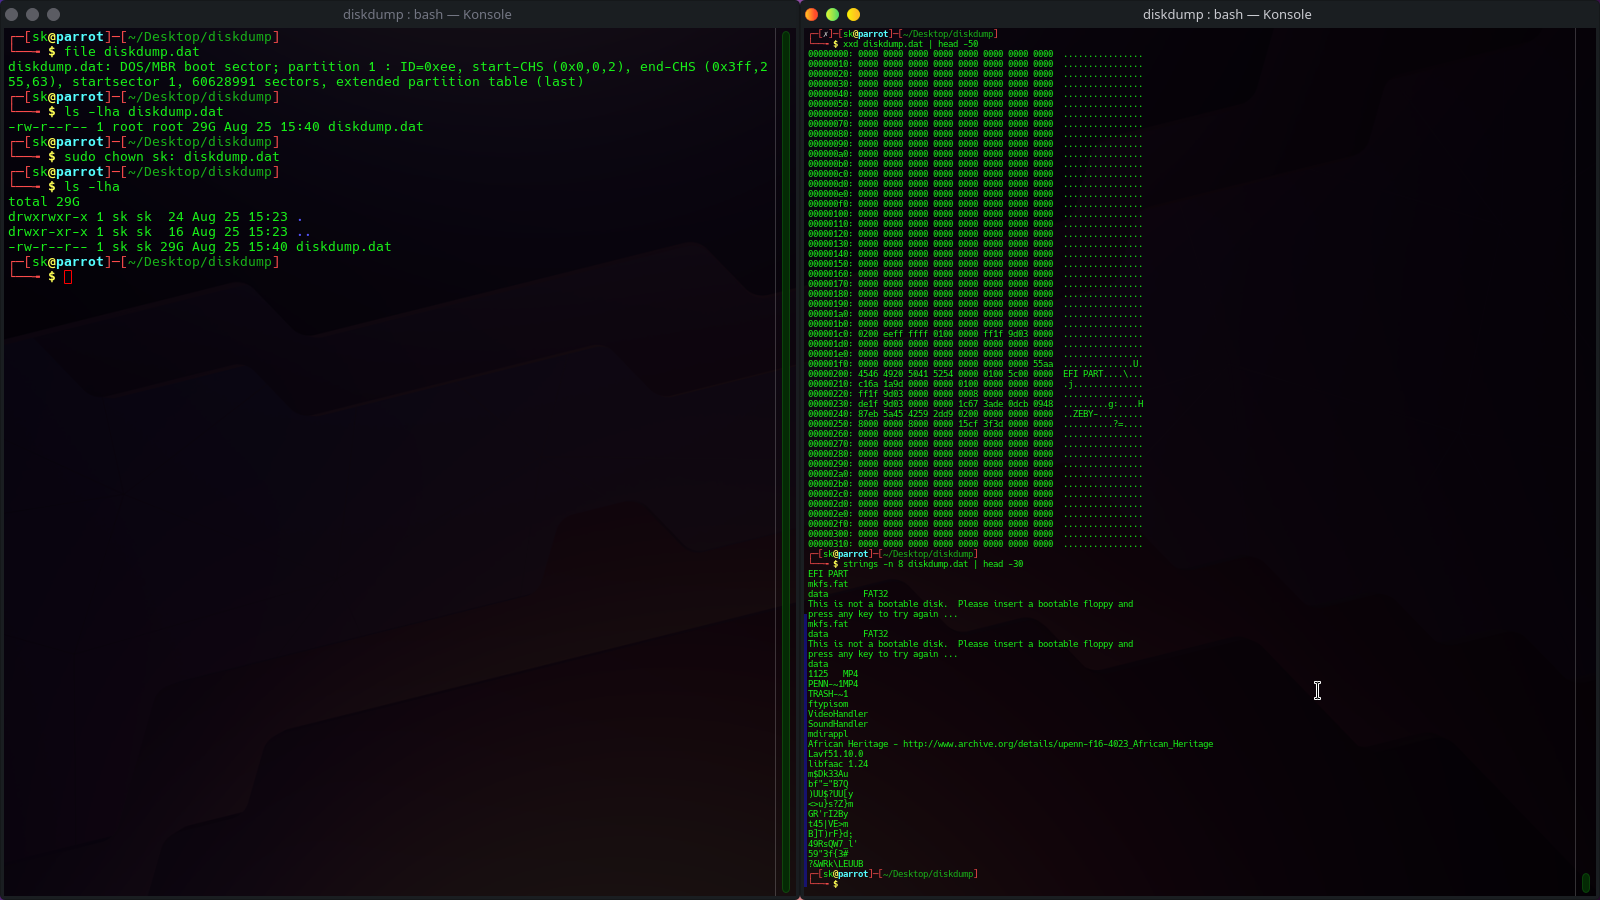
After making an image of the media, we can begin to inspect it with standard utilities like file, xxd, and strings:
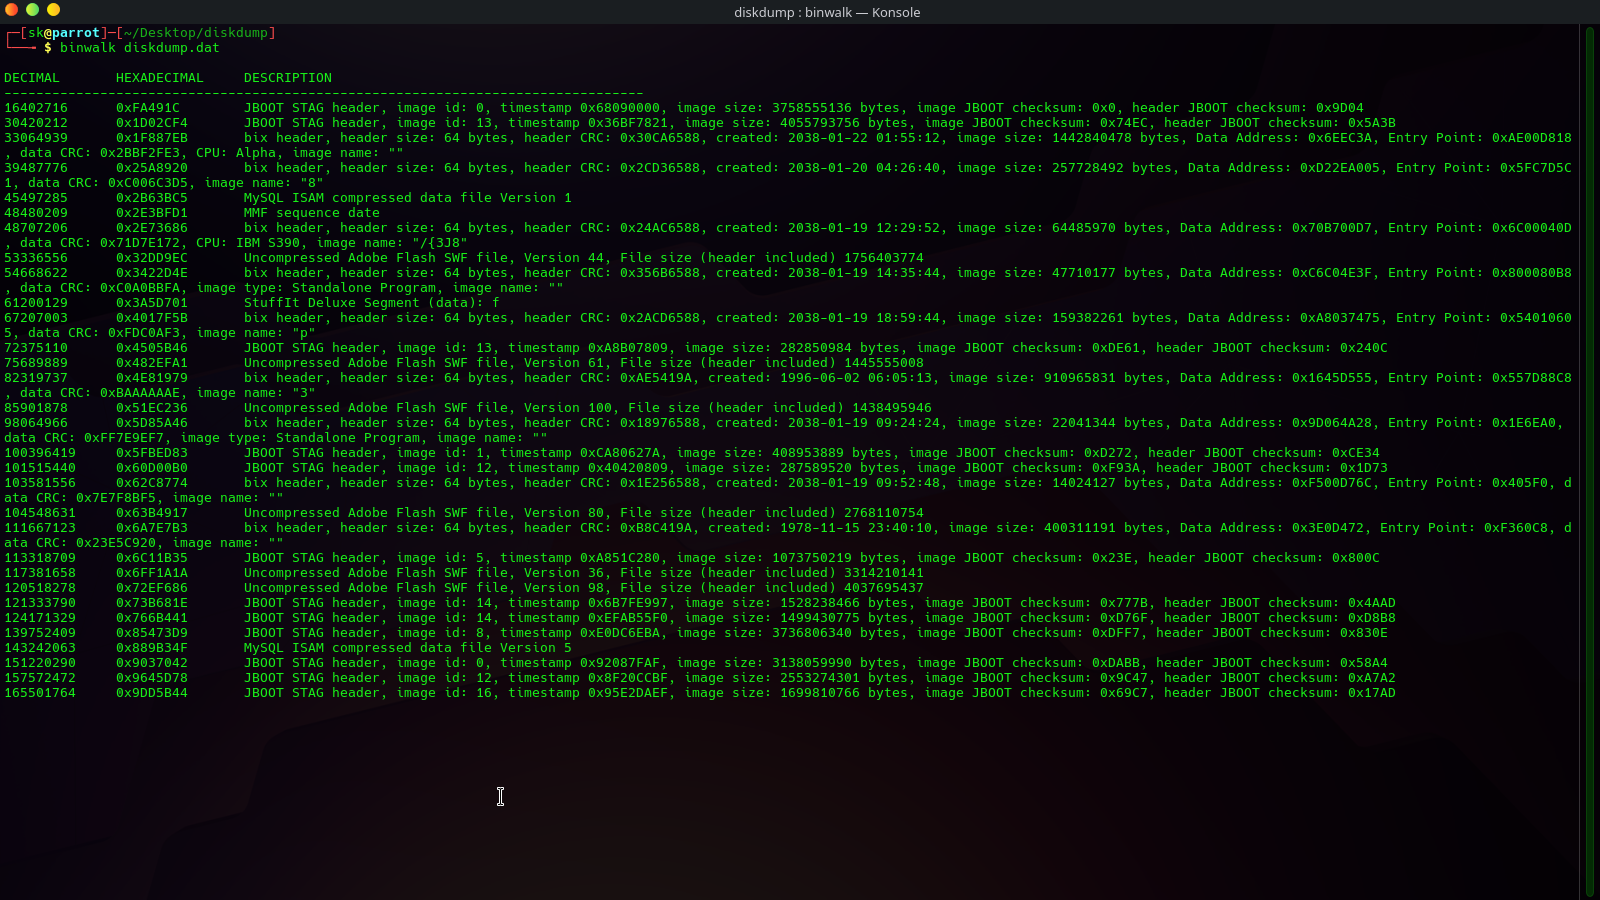
binwalk operates based on headers, so it can pick up a lot of noise:
With mmls (media management ls), we can learn more about the structure of the media:
Importantly, we can search for a large target data partition. We can use the partition’s offset with fls (file ls) to list deleted files:
$ fls -rd -o ${offset} ${diskdump}
# -r = recursive
# -d = deleted entries only
# -o = offset
We can then reference the inode numbers of the deleted files we wish to recover, and extract them with icat (image cat):
$ icat -r -o ${offset} ${diskdump} ${inode} > ${output}
# -r = recover
# -o = offset
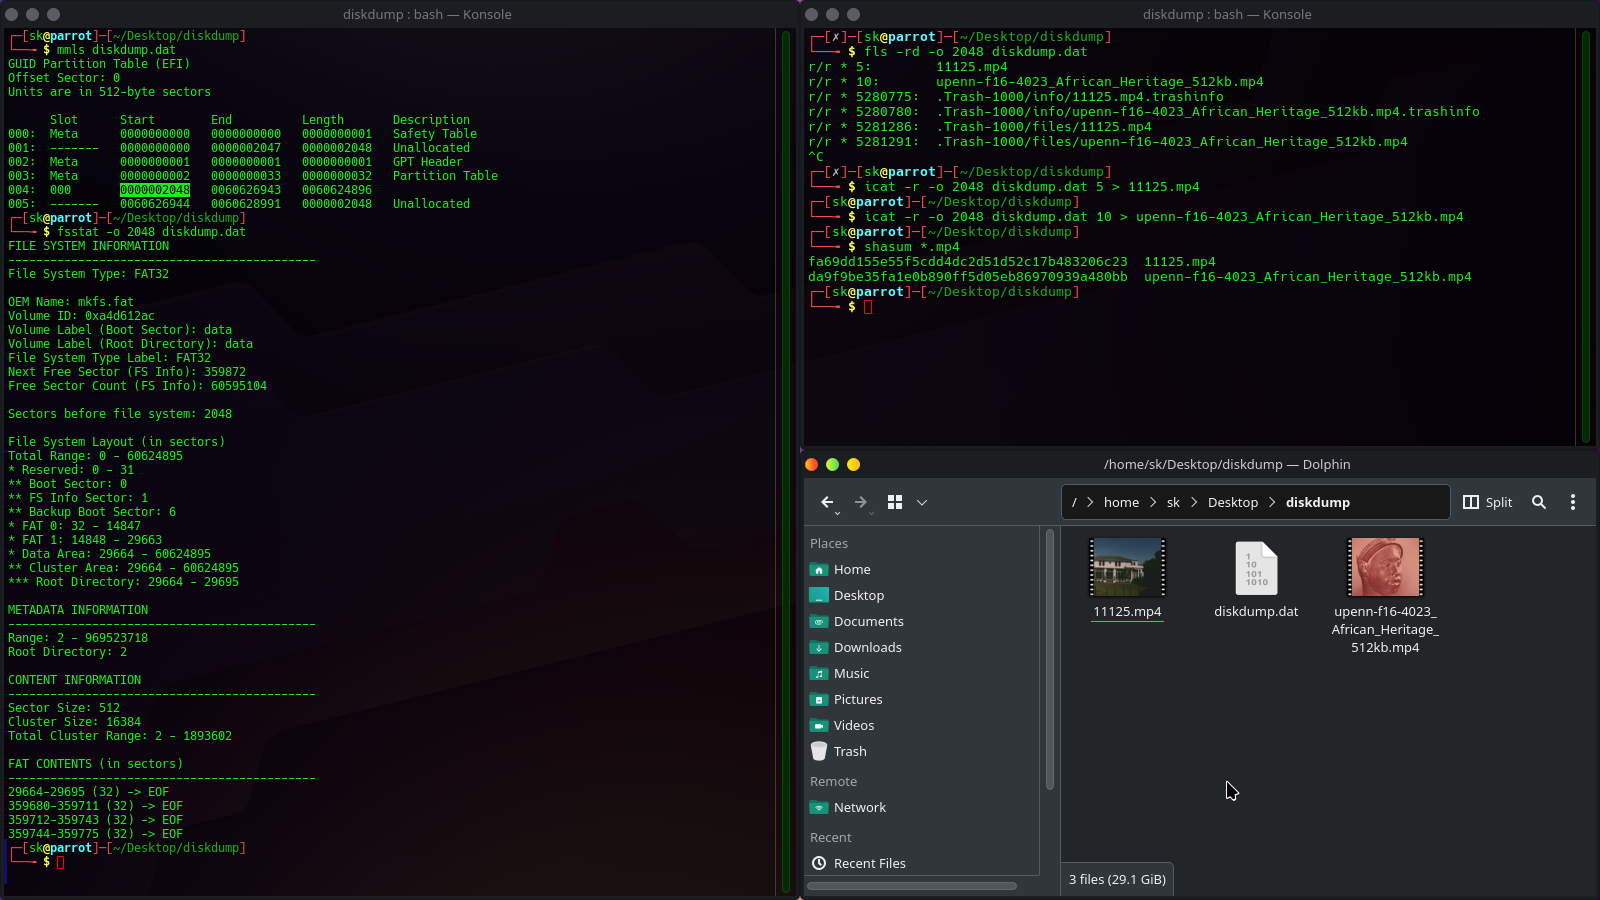
And just like that, we’ve recovered the files!
But what should we do when The Sleuth Kit’s analysis and extraction scripts fail us? It becomes important to learn how to do this manually so that we’re not constrained by the limitations of our tools.
Manually Recovering Files With Contiguous Data Blocks
This next part’s me sharing my own methodology.
When standard tools fail us, or when we need capabilities congruent with our knowledge rather than constrained by a tool’s limited feature set, we can just do it ourselves.
I usually start with some kind of a known plaintext, such as a title, keyword, or other term likely to show up in the target file. For starters, strings can be interesting to look at if you’re not sure where to go:
Afterwards, I usually use grep to find positions where such a string occurs in the diskdump, and then I navigate to the offset with a hex editor such as hexedit:
$ grep -boa ${search} ${diskdump}
# -b = print the byte offset
# -o = only show matches to the search
# -a = assume that the binary file is text
$ hexedit --color ${diskdump}
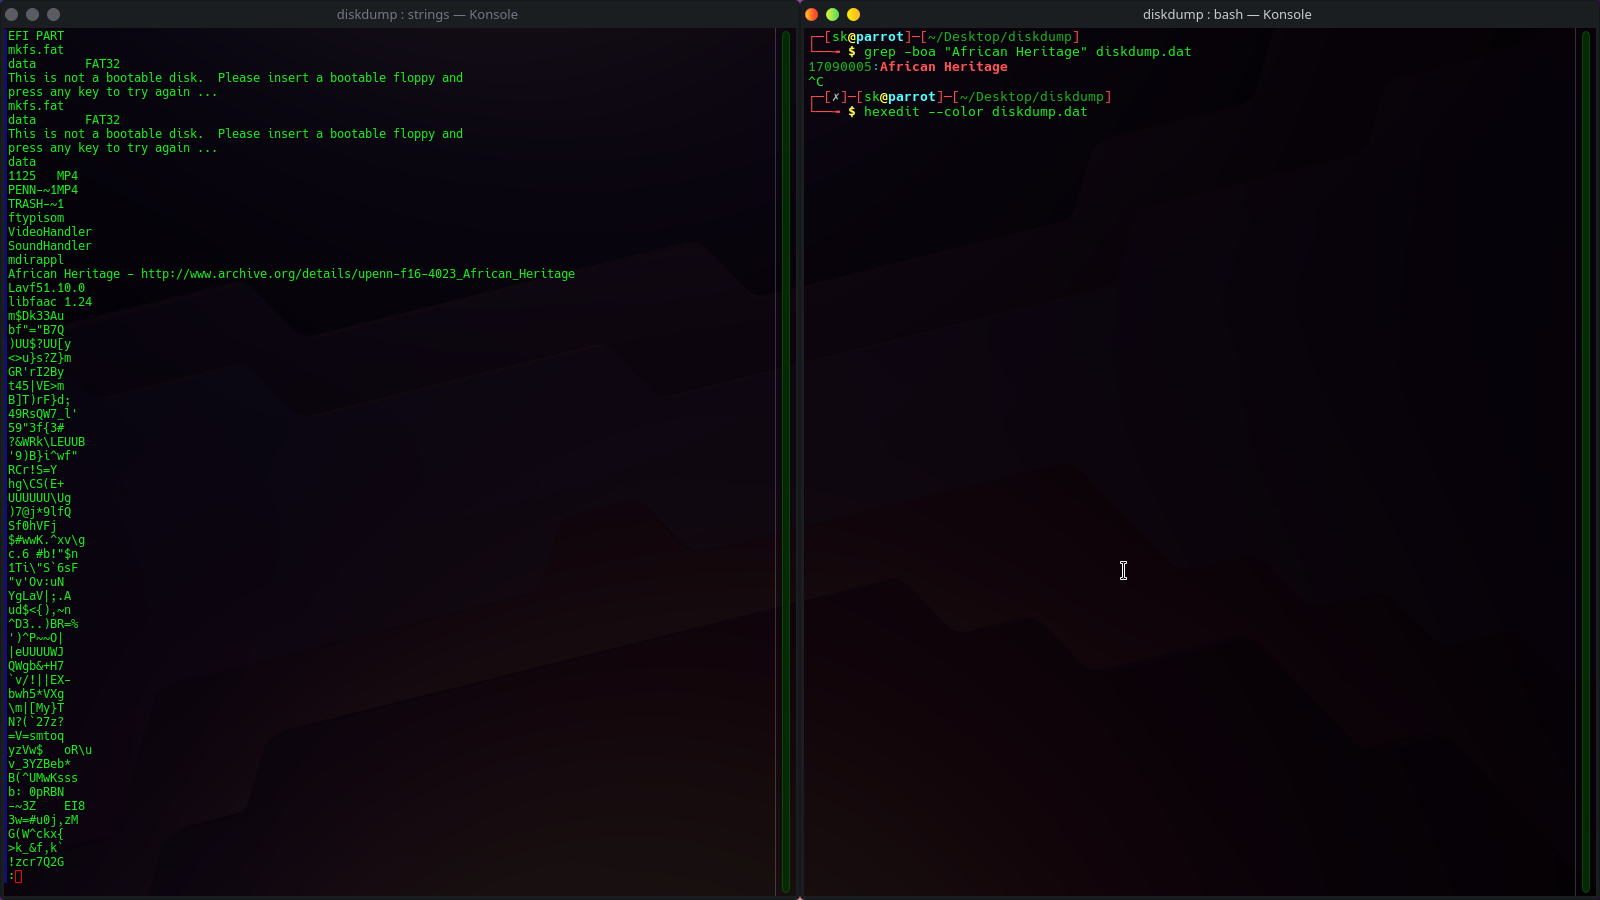
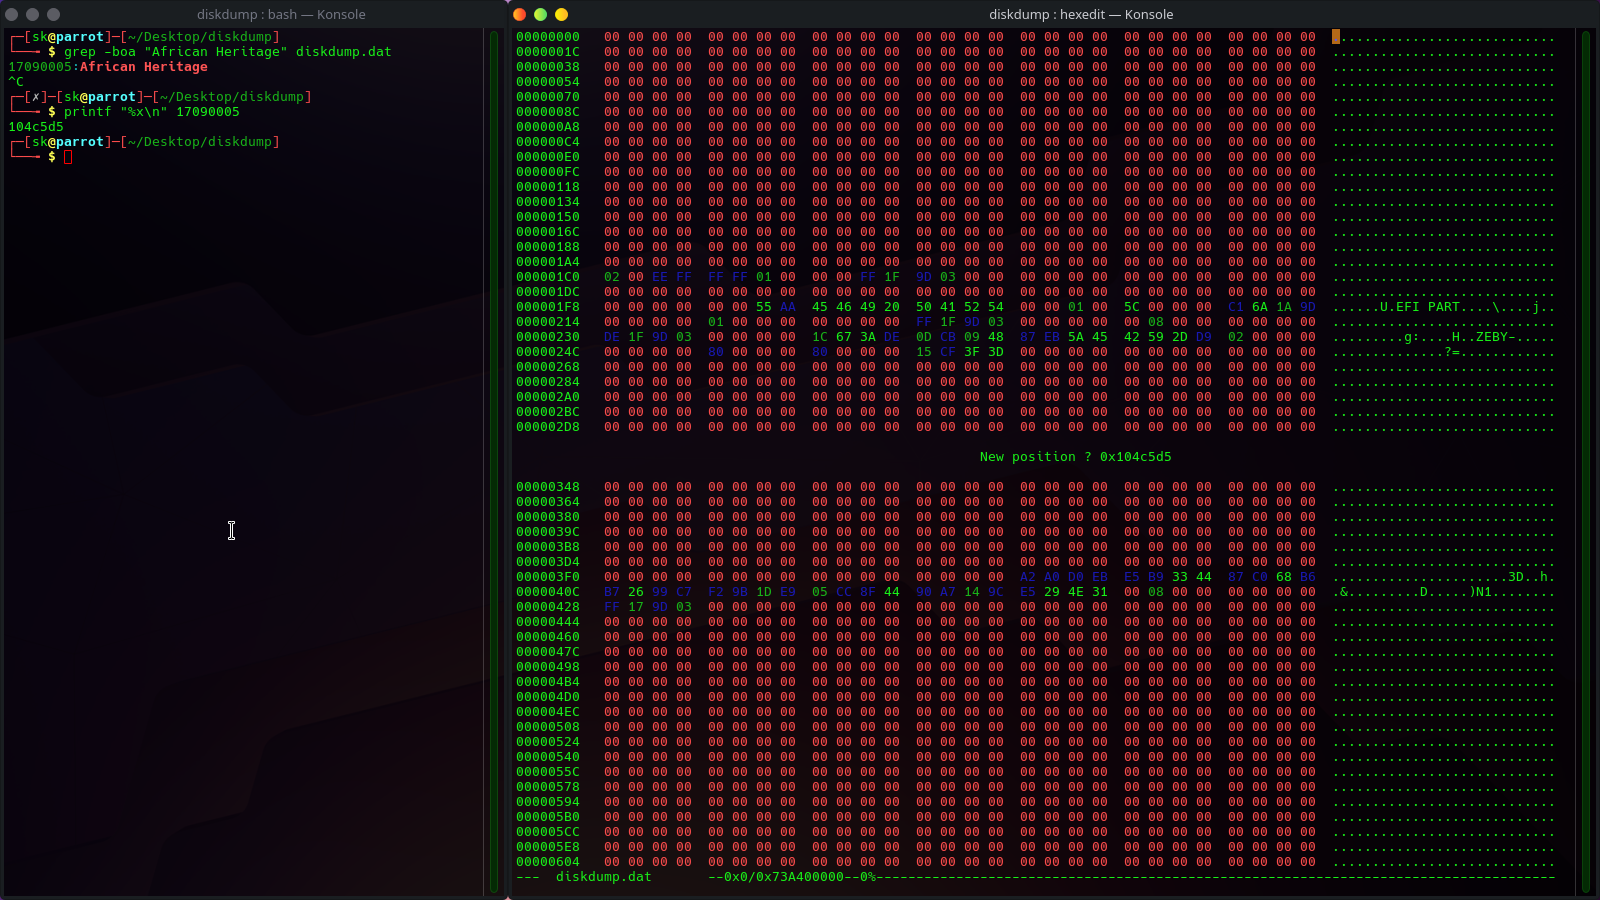
I convert the offset into hex, and then navigate to it in hexedit with ^G:
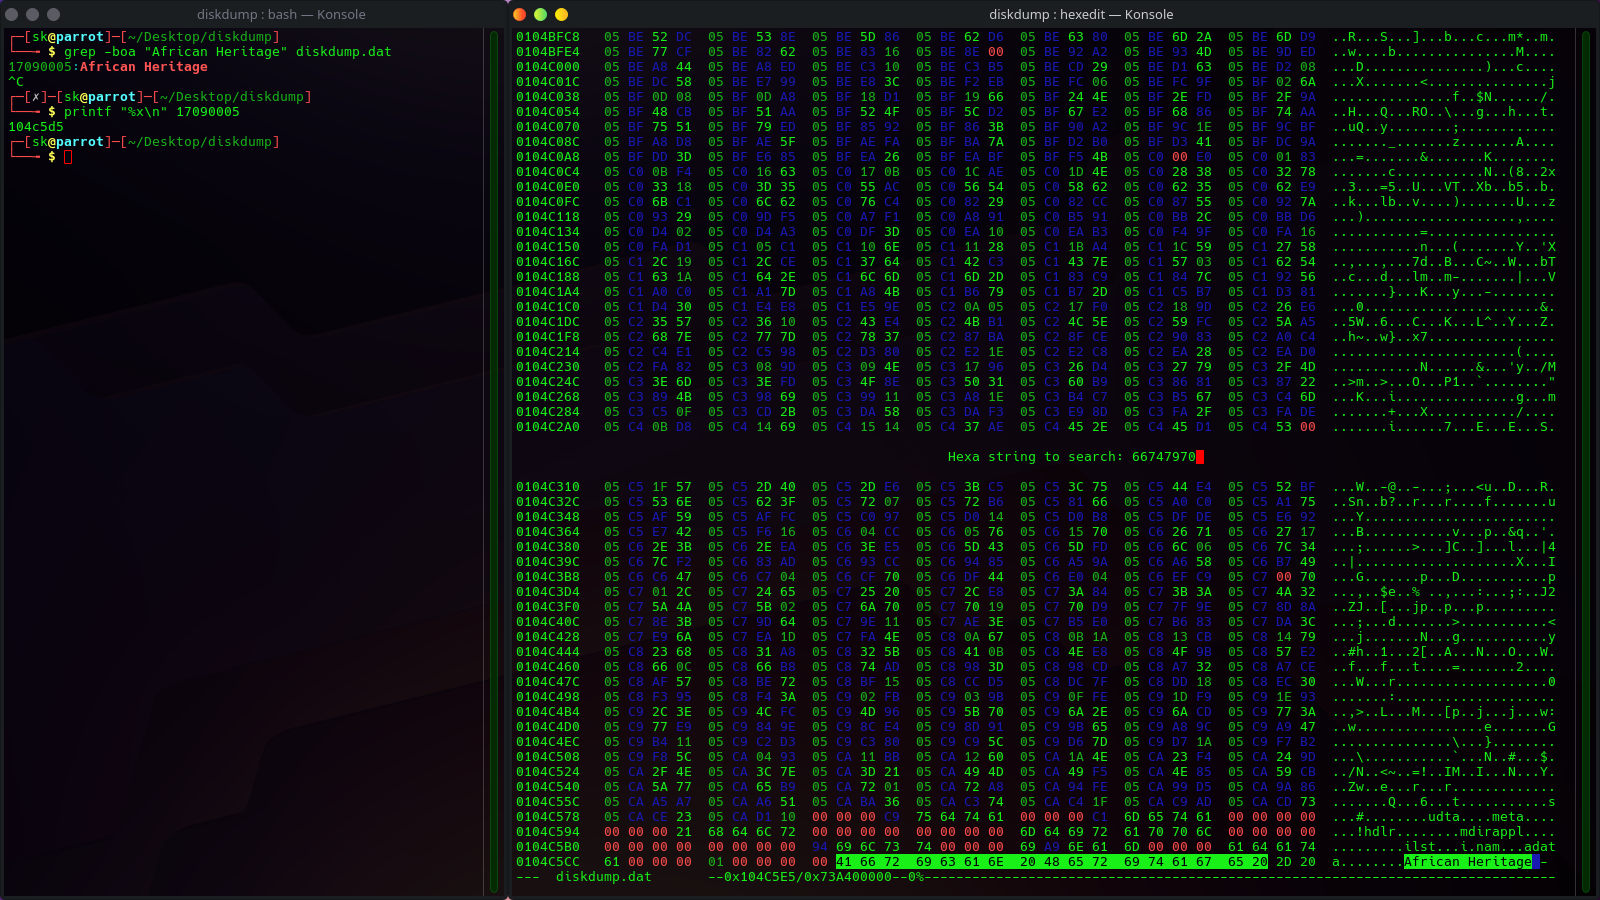
Because I know I’m targeting an MP4 file, I’ll search backwards with ^R for the filetype’s magic bytes to find the start of the file:
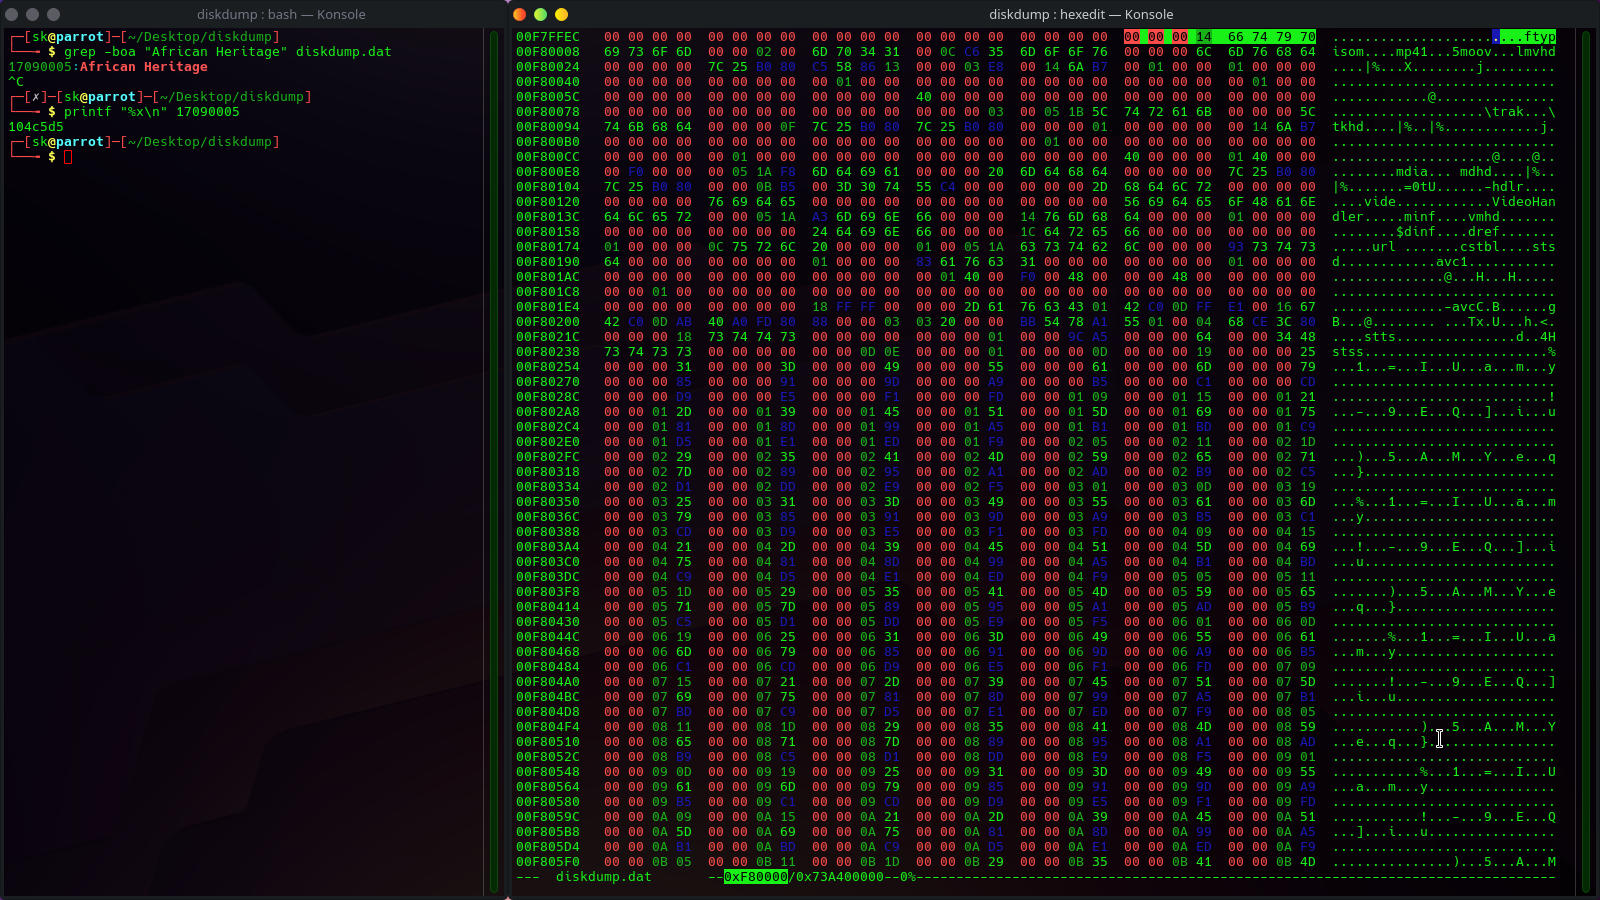
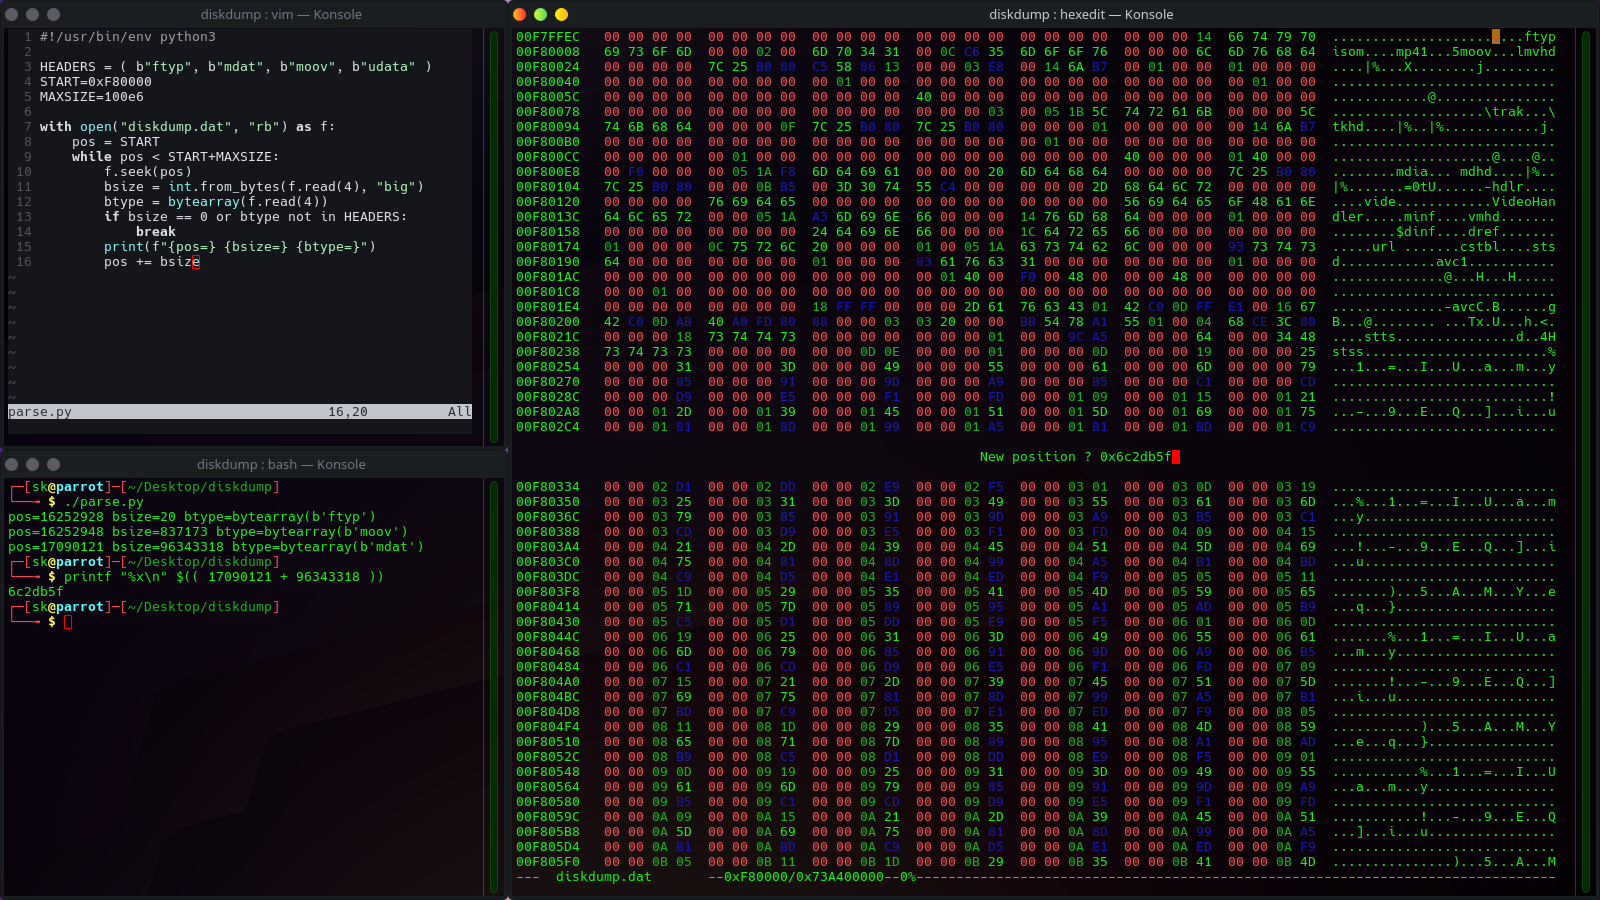
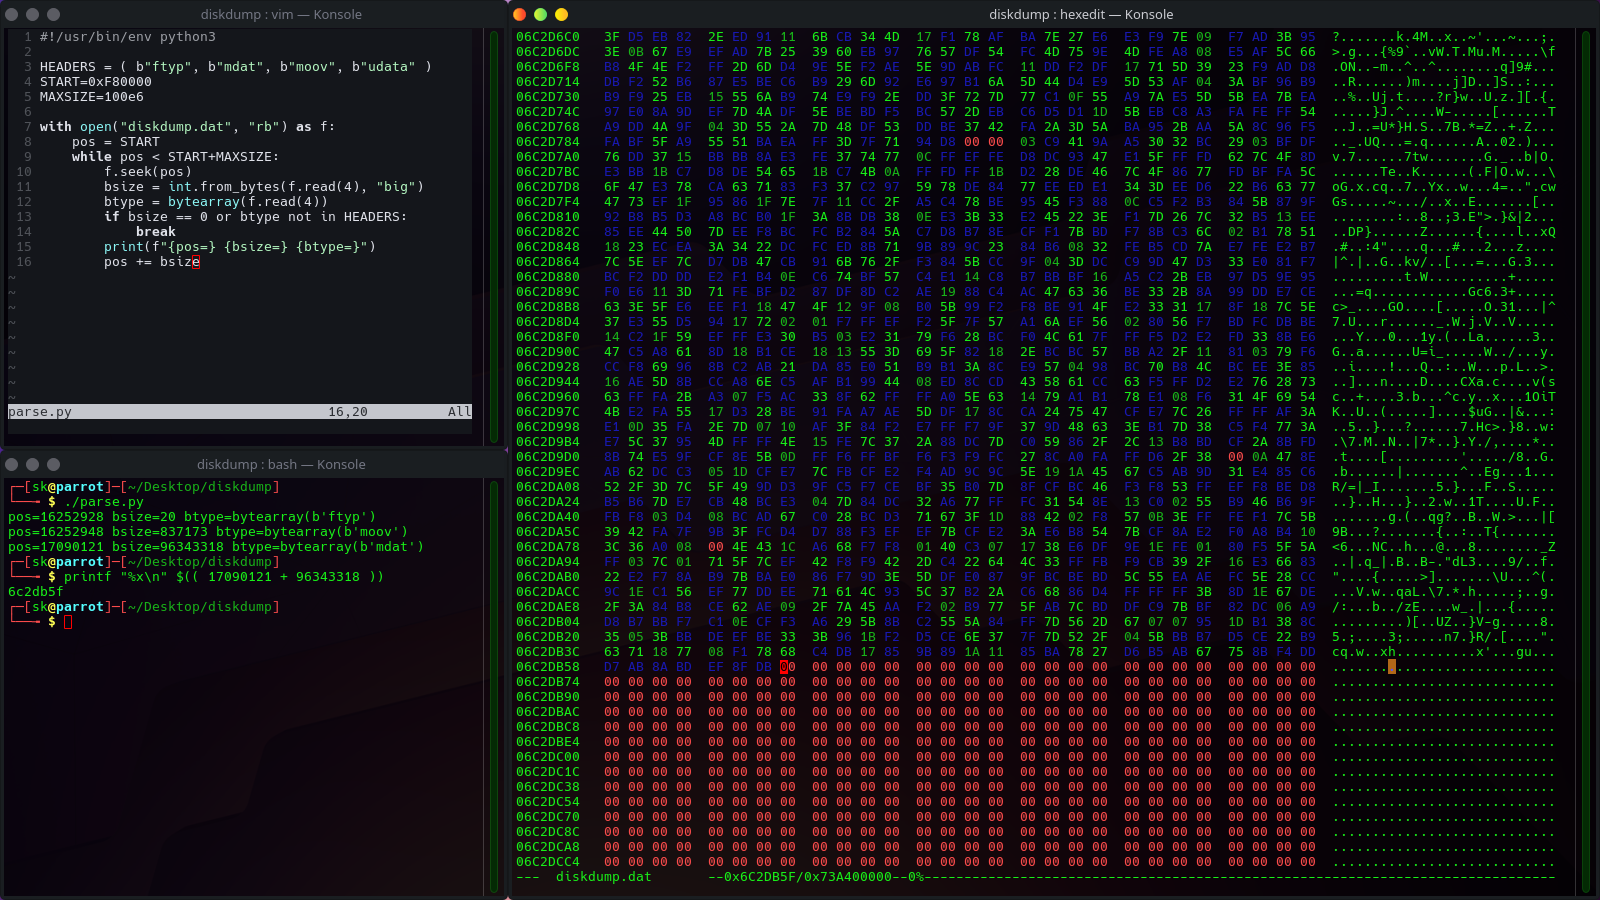
Depending on the file type, I might write a quick script or two to navigate to the offset in the diskdump and start stepping through the data. In this example, I’ve written a quick parser for MP4 files to step through the boxes until I’ve calculated the end of the file. Then, I can navigate to the calculated position and judge whether or not my parser was correct:
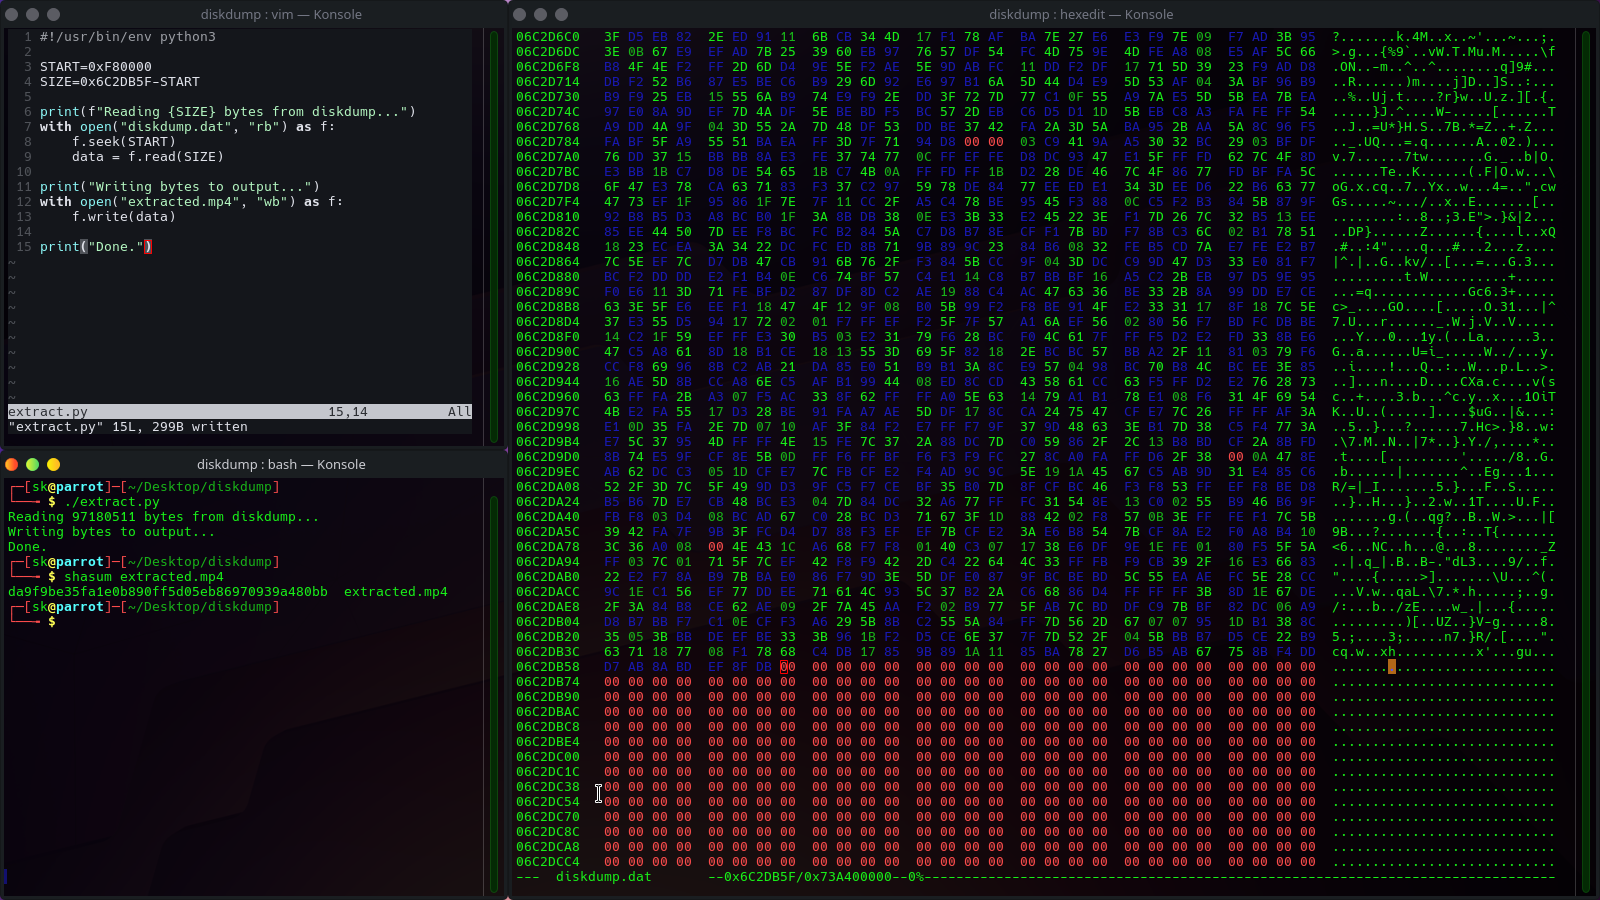
Knowing the file’s start offset, combined with the calculated file size, I can read those bytes from the diskdump and write them to an output file:
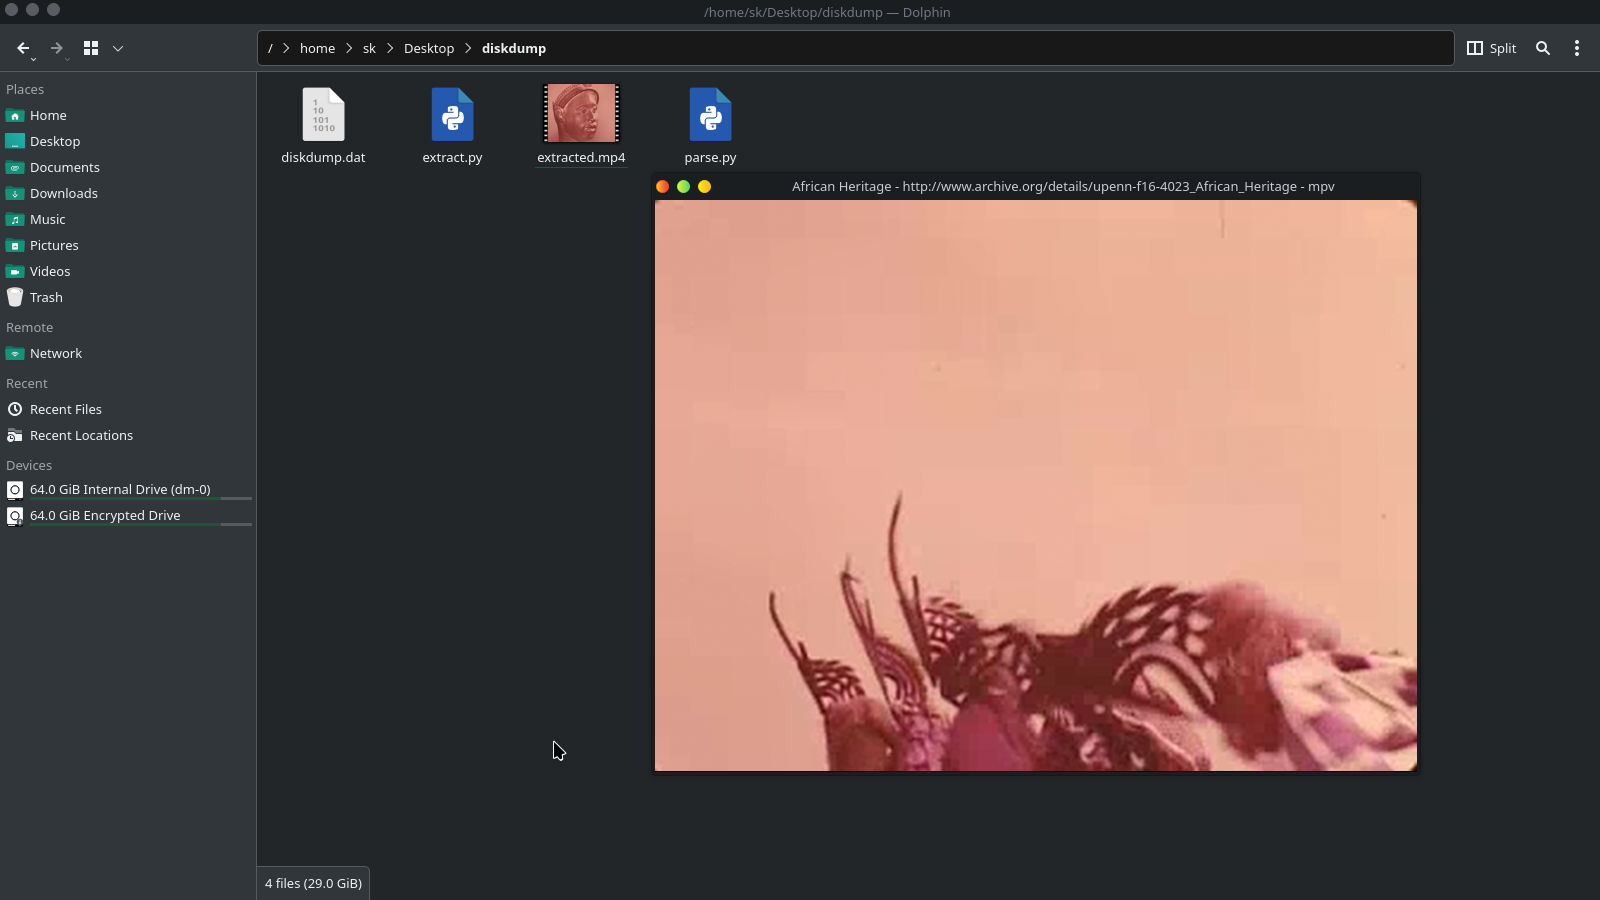
Not too difficult!
In this case, the data blocks were contiguous, which made manual extraction of the deleted file pretty easy. However, remember that a crucial implication of inodes pointing to data blocks is that there is no guarantee that data blocks are contiguous, so frequently modified filesystems may not be so forgiving.
Future Work
I intend on authoring a few follow-up posts, elaborating on:
- what this looks like when data blocks are “spread out” over a digital media, which is more typical for large files on frequently modified filesystems;
- what to do when one or more data blocks have been overwritten, corrupting your target data; and
- what this looks like on Windows.
I’ll edit this section with links when those posts come around. Until then,
Happy hacking.